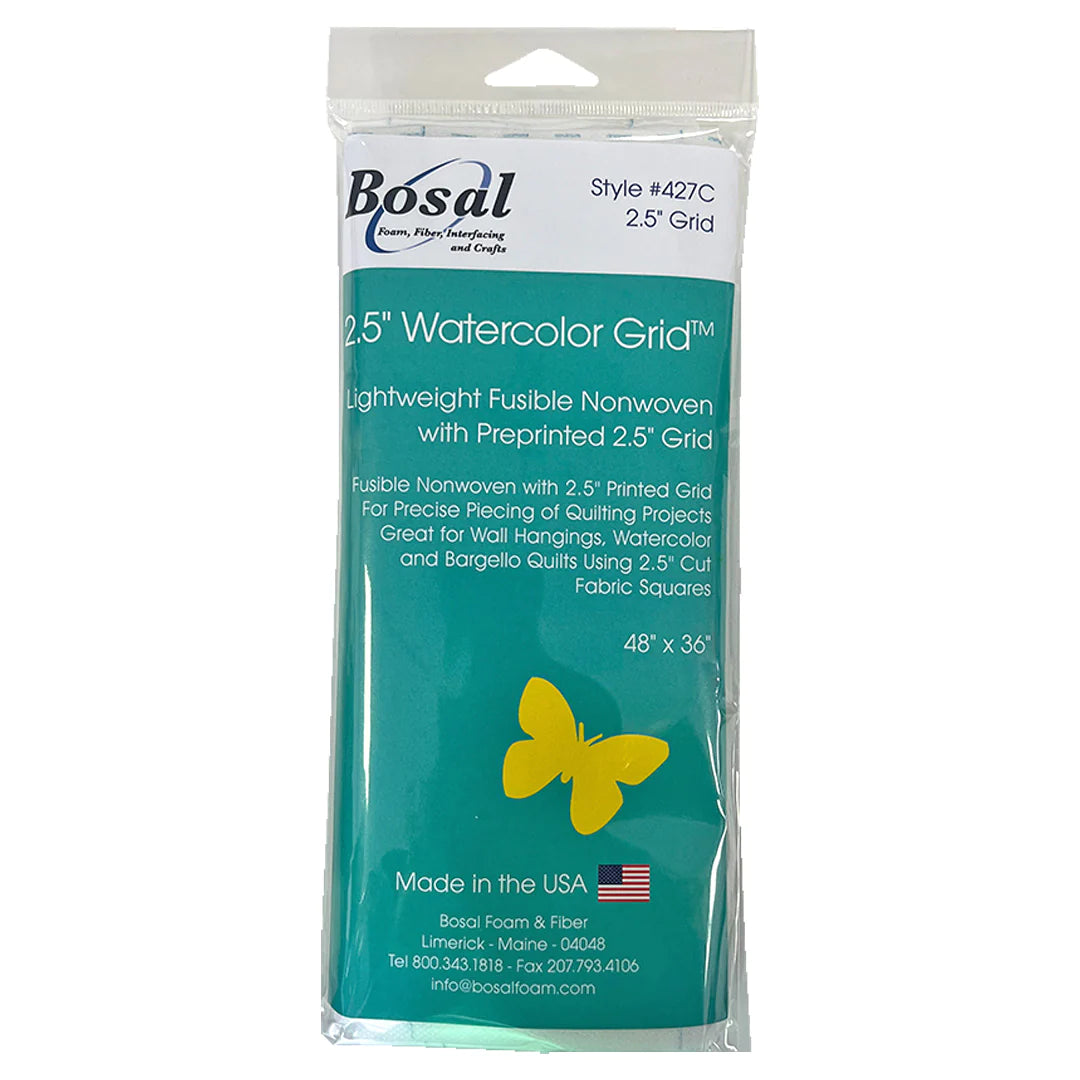
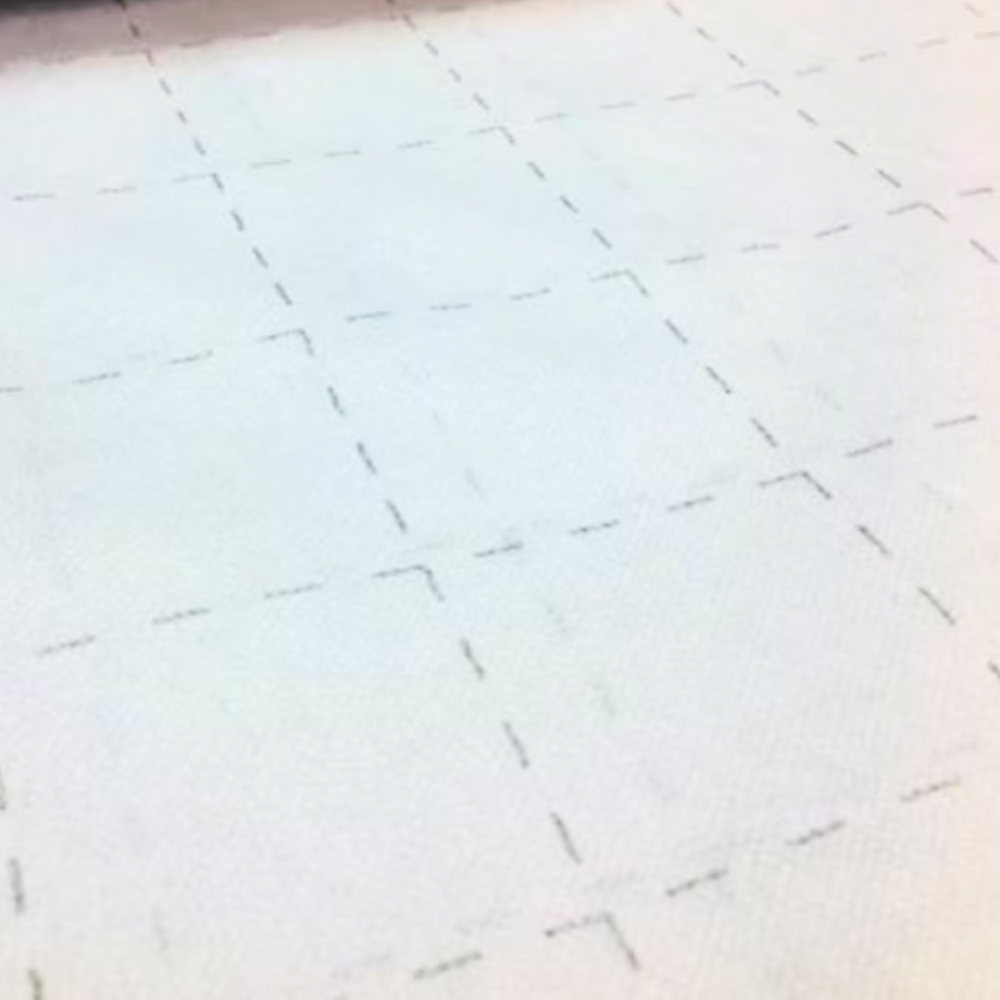
Bosal Watercolor Grid 48"x36"
Regular price€12,85
/
Tax included.
- Low stock - 3 items left
- Backordered, shipping soon
Bosal Watercolor Grid 48'' x 36''
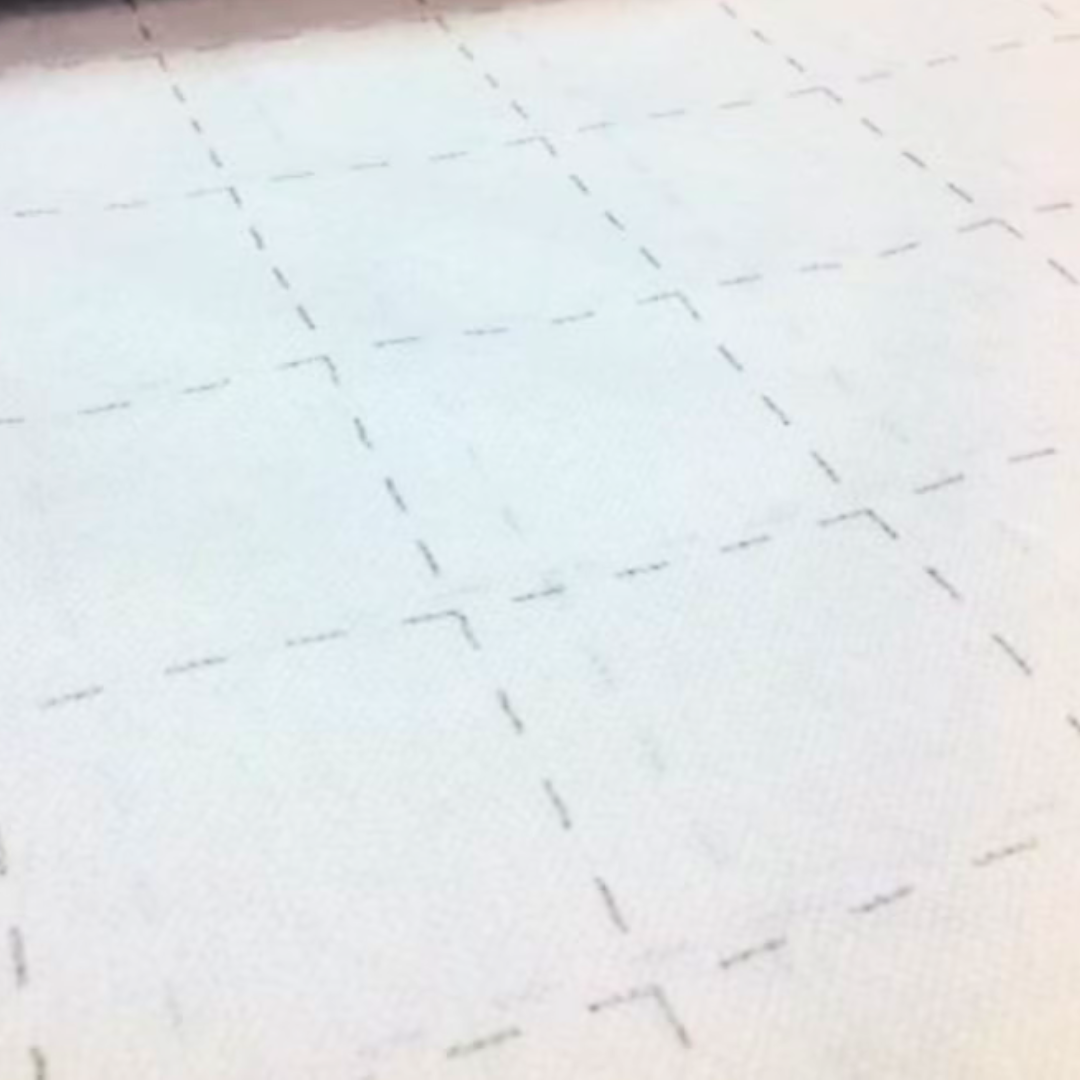
This adhesive thin 100% polyester grid interfacing is especially suitable for watercolor, bargello, pixel and other small patchwork based quilting. It has a heat-responsive adhesive surface that adheres to the fabric when heated.
Size: 48" x 36", i.e. 122 x 91.44 cm
Square size: 2.5" (6.35 cm)
Note: 2.5" (6.35 cm) grid produces 2" (5 cm) finished fabric squares
Instructions:
- Position the 2.5" grid on a wall or flat surface. Make sure the corners are securely fastened. It's easiest to work on a vertical surface for better visualize fabric placement and seeing color blending.
- Cut the fabric into 2.5" squares and sort them according to the desired pattern. You can also use larger squares, by combining different sizes you can add contrast and texture to your work.
- Remember that a 2.5" square will come out a finished 2" square. Note the ½" seam allowance reduced when stitching the squares. Lay the fabric squares facing up on the fusible side of the interfacing. To hold the fabric squares in place you can lightly tack the fabric to the fusible side, or you can permanently fuse the fabric after it has been positioned on the 2.5" grid. Use the wool setting and light steam to firmly hold the squares in place for wall hangings. For a lighter feel, gently tack the squares in place with a hot iron without pressing.
- Once all of the squares are fused in place on the 2.5" grid you can now begin stitching in the squares. To stitch all the squares together fold the vertical column first along the dotted line. Stitch a 1/4" seam down the entire length. Continue to sew each column with a 1/4" seam allowance down the full length of the material. Stitch on the dotted line. Make Sure to press the seams in the same direction. Repeat the same process for the horizontal dotted line. Again, keep all seams pressed in the same direction.
Pairs well with
No reviews


